“The Talent Code”

A couple of days ago, I was giving a lesson to one of my junior students and I was explaining to him how we, as humans learn more from our mistakes and errors than we do from making shots.  This reminded me of a great book I read regarding how we develop skills, the book is called “The Talent Code” by Daniel Coyle.  It focuses on what makes the great performers, GREAT, and how we can use it to improve our own performance or help others around us maximize their performance.  I strongly recommend this book to anyone who has children, coaches or any business person who is in a role of leadership.  This article is a brief summary of the lessons I learned from the book.

According to Coyle, any idea that our individual capacities and limitations are fixed at birth are irrational. We all have the remarkable potential to learn and perform at the highest levels as long as we followed the following criteria:

The 3 key elements that will allow you to develop your skills and optimize performance:

  1. Deep      Practice-Specific      kinds of practice can increase skills up to ten times faster than      conventional practice. Deep practice is built on a paradox: struggling in      certain targeted ways-operating at the edges of your ability, where you      make mistakes-makes you smarter. Experiences where you’re forced to slow      down, make errors, and correct them. When you’re practicing deeply, the      world’s usual rules are suspended. You use time more efficiently. Your      small efforts produce big, lasting results. You have positioned yourself      at a place of leverage where you can capture failure and turn it in to      skill. The trick is to choose goals just beyond your present abilities; to      target the struggle.
  2. Ignition-We all need a      little motivation to get started. But what separates truly high achievers      from the rest of the pack? A higher level of commitment-call it      passion-born out of our deepest unconscious desires and triggered by      certain primal cues. When they see someone they know accomplish a high      goal, that success shows them that its possible for them to achieve such      high goals as well.  Understanding how these signals work can help      you ignite and catalyze skill development.
  3. Master      Coaching-4      virtues that enable these “talent whisperers” to fuel passion, inspire deep practice, and bring out the best in their students: 1. The matrix – having deep interconnected knowledge of the discipline being taught and also how to teach it.   2.  Perceptiveness – observing and taking in how the student learns and customizing teaching to the student.  3. The GPS reflex – teaching comes out as short bursts of pure information such as “get to #3 (the follow through)”, “early #1 (preparation)”, “swing from the ground up”.  4.  Theatrical honesty – “I LOVE IT” when giving praise

When these three elements occur, learning velocity goes way up.

To your tennis success,

Filed in Application of Pressure, Tennis Players of All Levels, Uncategorized | Comment Now

The Five Pressures-AKA C.O.R.N.S

In every sport, the application of pressure is a recipe for success.  It’s no different for tennis.  There are many ways of applying pressure to your opponent.  I have created a simple to follow system that will allow you to apply pressure and help you dominate your opponents.

C onsistency

O pen Court

R ise

N et

S erves

Consistency

Shot Tolerance:  This is the number of balls you can execute at match level before you make an error or your opponent hits a winner.  State level players have a shot tolerance of 4 balls.  Sectional level players have a shot tolerance of 6 balls.  National level players have a shot tolerance of 8 balls.  Top national ranked players have a shot tolerance of unlimited number of balls.  What is your shot tolerance?  When you have a high shot tolerance, your opponent feels like they need to go for bigger shots and closer to the lines to win points.  What ends up happening is opponent now makes more unforced errors.

Open Court

Control the Open Court:  The more you take your opponent out of their comfort zone, the more errors and weaker shots they will hit.  You want to keep your opponent running as much as possible.  It is safe to say that if an opponent has a weak backhand, they will have a weaker on the run backhand shot.  Controlling the open court will also pay off if the match goes to a third set.

Rise

Take Ball on the Rise:  Taking the ball on the rise will take time away from your opponent.  The more time you take away from your opponent the weaker their shots are going to get because they don’t have time to load and explode or set up to the ball.

Net

Finish Points at the Net:  If you execute the first three pressures properly, eventually your opponent will make a mistake and give you a short ball.  You need to hit an approach shot to your target and look to come in and finish the point at the net.

Serve

Attack Second Serve:  Unless your opponent is one of the top players in the world, it’s safe to say that their second serve is one of the weakest areas of their game. So you are going to take advantage of that fact and attack the second serve in the following way:

1. Starting position where you are standing needs to be on or inside the baseline (there are three different starting positions).

2. Move forward and take ball on the rise.

3. Hit your targets (you need to know what target you are hitting before opponent serves the ball).

Now that you know what the pressures are (CORNS), plan your practice sessions around these principles and watch your game achieve new levels.

Filed in Application of Pressure, Backhand, Forehand, Uncategorized | Comment Now

Hit Your Two-Handed Backhand Like the Pros

This gallery contains 6 photos.

Just like the forehand, every stroke should always begin with a split step, pivot, and simultaneous coiling of the upper body while taking the racquet back into its final preparation position. As you coil and take the racquet back with … Read the rest of this entry

More Galleries | Comment Now

Hit Your Forehand Like The Pros

Tennis Players of all Levels,

Every stroke should always begin with a split step, pivot, and simultaneous coiling of the torso while taking the racquet back into its final preparation position. As you coil and take the racquet back with your body and your non-hitting hand, you will begin to load your weight onto your right foot until you are in the final preparation position. We will call this final preparation position #1.

Dimitrov and Federer taking the racquet back with the body and their non-hitting hand.

7247

Position #1 (the preparation)

There are four (4) key reference points in position #1:

1. The first reference point is the position of the left arm, which should end somewhere around shoulder height and parallel to the net. This final left arm position mandates that the racquet was taken back with the body rather than just the arms. Whenever you reach across your body with the opposite arm, the shoulders and trunk will naturally have to rotate.

2. The second reference point to note is the loading of weight to the right leg. This is crucial for the set up of proper weight transfer, which will occur from the right side of the body to the left during stroke execution. As you can see from the pictures below, both players have great balance and have stored most of their energy on their right leg.

3. The third reference point to mimic is the right hand position during #1. The important thing to observe is the height of the hand is shoulder height. The reason for the high preparation is to take advantage of gravity and centrifugal force. The higher the racquet preparation the less energy a player will have to use to gain maximum racquet speed before striking the ball. Also more momentum will be gained due to the longer distance the racquet has to travel before making contact compared to that of a straight back take back.

4. The fourth reference point to mimic is the position and direction of the racquet head. The racquet should be pointing towards the sky at about a 45-degree angle to the ground. The racquet should also be positioned at about 45-degrees from the back fence and directly above the flight path of the ball.

75 48

Position #2 (the contact point)

Contact Point: The player begins to let gravity do its thing by letting the racquet fall into the hitting zone using very little of his or her own energy. Gradually the player uses more and more of his or her own energy as the racquet approaches the contact point. To achieve maximum racquet speed use only as much energy as needed to complete the motion within the technique. This will enable more racquet head speed and encourage proper fluid form. Make sure the racquet drops below the ball before making contact.

74 52

There are three (3) key reference points in position #2:

1. Contact point should be between waist and chest height. This allows the player to be aggressive since the ball is above the net and he can drive the ball.

2. Contact point should be out in front of the body approximately even with the toes of the left foot (contacting the ball out in front as such allows the downswing of the racquet to gain maximum racquet speed before contact as well as enhances visual acuity).

3. The racquet should stay on a linear plane with the flight path of the ball throughout the hitting zone and contact point.

78 55

Position #3 (the ending)

Position #3 is the secret to controlling all that racquet speed and power and still being able to keep the ball in play.

There are four (4) reference points in position number three, the ending:

1. The right hand palm and underside of the forearm are facing the ground.

2. The racquet head ends to the side of the left arm, either by the elbow (excessive roll), the hip (excessive), or just below the top of the left shoulder (excessive bang) rather than up over the shoulder.

3. The right shoulder has rotated 180 degrees from its starting point in the preparation.

4. The player’s weight has completely shifted from the right leg to the left leg.

80 88

There you have it, all the reference points you need to go out and hit your forehand like the pros.

To your tennis success,
Jimmy Mendieta

Filed in Core Fundamentals, Tennis Players of All Levels | Comment Now

Mental And Match Preparation – Match Play

This is the third and last in a series of articles which will teach you how to maximize the most out of your game and help you become a smarter tennis player when preparing to play a league match or a tournament.

  1. The Night Before The Match
  2. Game Day
  3. Match Play

Match Play

According to USTA research, the player who wins the first set will go on to win the match 7 out of 10 times. This is why it’s crucial to prepare properly and get off to a great start.

Receive first: Most people you play against have weak serves, start the match nervous and not fully warmed up so why not take advantage and break early.

Your game plan: Come out and execute your game plan and see if it’s working. If it is, continue to execute, if it’s not working find out why and make the proper adjustments.

Right gear: Start at 65-75% of your full power and as the match progresses take it up a notch.

Be consistent: Make opponent hit lots of shots so you can find out what their strengths and weakness are.

Make adjustments: Determine opponent’s strength and weakness that day and make the right game plan adjustments.

The Change Over

Use every changeover to think of what just happened and how you want to play the next two games. We never see a pro player skip the changeover, so neither should you.

Hydrate yourself
Drink 4 oz of water to hydrate.
Drink 4 oz of Gatorade or PowerAde to replenish energy level
Utilize the skittles when needed.

Get a feel
What did and did not worked the last couple of games?
Did anything surprised you?
Give yourself a pep talk.

Relax or energize
When you feel rushed and overwhelmed you will need to calm yourself down and relax by taking long breaths or telling yourself to calm down and slow things down. Like coach Wooden said, “Be quick but don’t hurry”. When you are feeling slow and sluggish you will need to energize yourself by quickly moving your feet while you sit down and sprint from the chair to the baseline.

Developing Physical and Mental Rituals

Getting ready to serve

Use the same physical ritual for first and second serve regardless of the situation. You have to decide how many times you will bounce the ball. You should not bounce the ball more or less times when the points are more important. Visualize where you are going to serve the ball, where you think your opponent is likely to hit the return and where you are going to hit the next shot. Play out the point in your head like a movie.

Getting ready to return a serve

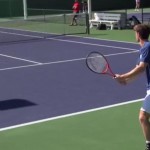
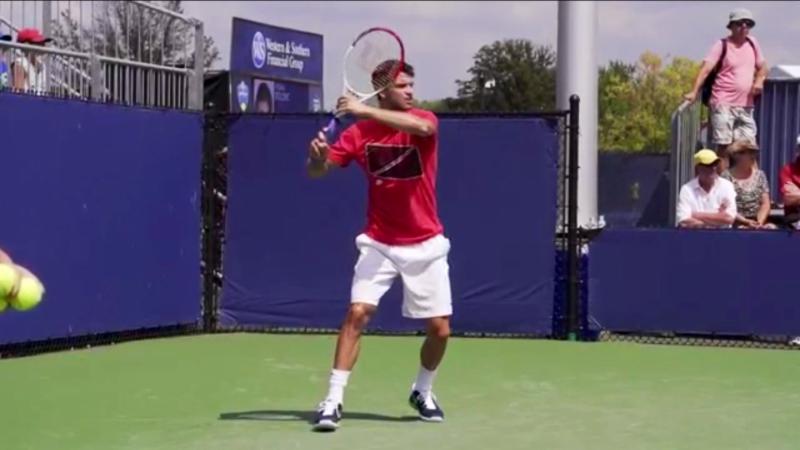
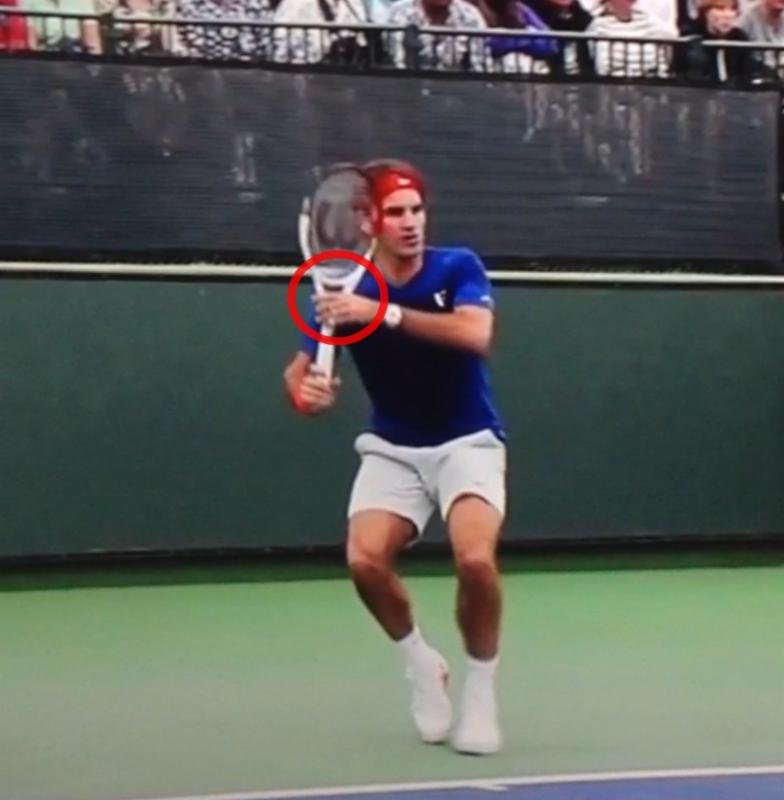
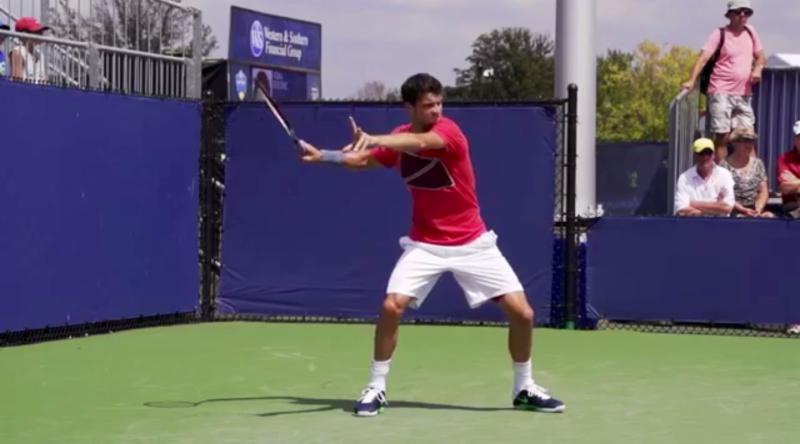
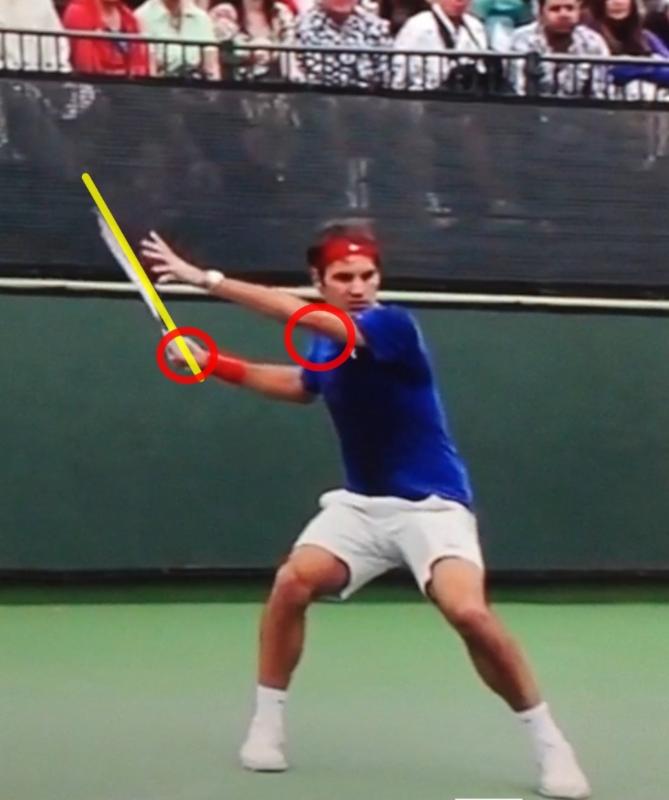
The physical ritual should be the same for first and second serve return. The only difference is where you will stand to return the serves. The mental ritual for first serve returns should be to mentally visualize your-self neutralizing their big serve by getting the return deep to the hash mark or low cross court for doubles. This can be done by seeing your-self shortening your #1 (racquet preparation) position and moving forward using the proper footwork technique.

The mental ritual for second serve returns should be to visualize where you are going to hit the return according to where your opponent serves the ball. If you are returning from the deuce side tell yourself that if the ball comes to your forehand, you will return the ball ¾ angle. If the serve comes to your backhand you will return deep down the line. If the serve is good and pulls you out wide on either side, you will return deep and hard down the middle.

When you win the point

Pump your fist to give yourself a boost of confidence.
Change racquet to non hitting hand.
Walk tall with shoulders back.
Walk with energy.
Verbally tell your-self that you hit a great shot or made a great play.

When you lose the point with unforced error

Shadows stroke the shot you just missed and visualized your-self making the shot.
Change racquet to non hitting hand and look at strings.
Walk tall with shoulders back.
Walk with energy.

When you lose the point by opponent hitting a good shot

Verbally acknowledge your opponent hit a good shot.
Clap using your hand and racquet.
Takes pressure off of you.

Starting the Second Set

First two games of the second set are the most important. Regardless of what happened in the first set, how you play the two first games of the second set will set the tone for the rest of the match. What tone do you want to set?

If you won the set

Stay with the game plan. Keep applying pressure (if you lift your foot off a snake’s head before you crush it, what will the snake do? ATTACK. Respect your opponent till the end.

If you lost the set

Think of why you lost the set.
Make the right adjustments.
Great time for a pep talk.

Closing the Match

One of the most difficult times in a set or match can be when you are given the opportunity to serve for the win. One of the main reasons for problems at this time in the match stems from your own attitude. Many players assume that the set or match is over and that they’ve already conquered the problem just by being able to serve for it. Others fear that they won’t be able to finish off the opponent.

Stay in the moment: The worst thing you can think about is that your opponent is just going to let you have the match. What we call “The Locker Room Effect (LRE).” LRE is when you are still on the court but see yourself in the locker room with the victory a little too prematurely. Stay in the moment and keep the pressure on because a wounded animal is a dangerous one.

Maintain winning plan: There is a reason why you are serving for the match. Continue to do what got you there. This means that if you were serving and volleying continue to serve and volley.

Play like you are behind: Players have a tendency to play better when their backs are against the wall, so trick yourself to believing you are behind to feel the urgency to play better.

Post Match

After emotions have settled down (30-minutes to several hours), take time to reflect on the match by writing in your journal. This is a great time to learn about yourself and your opponent. Keeping this journal will also help you if you ever play the same players again.

  • Enter the tournament date.
  • Opponent’s name and final score.
  • Review in writing your match goals and specific successes and failures.
  • Connect the match in a positive way to your development.
  • Make a list of the things learned from the match that can help you in the future about your opponent.
  • Discuss the match with your coach (if possible).
  • Review the extent to which you followed your pre-match preparation routine.
  • End your writing session by creating the best story you can about the match that will drive new learning and confidence.

To your tennis success,

Jimmy Mendieta

Filed in Advanced Topics | Comment Now