Just like the forehand, every stroke should always begin with a split step, pivot, and simultaneous coiling of the upper body while taking the racquet back into its final preparation position. As you coil and take the racquet back with your body, you will begin to load your weight onto your left leg (for right handed players) until you are in the final preparation position. This will make sure that you take the racquet back consistently to the same position. We will call this final preparation position #1.
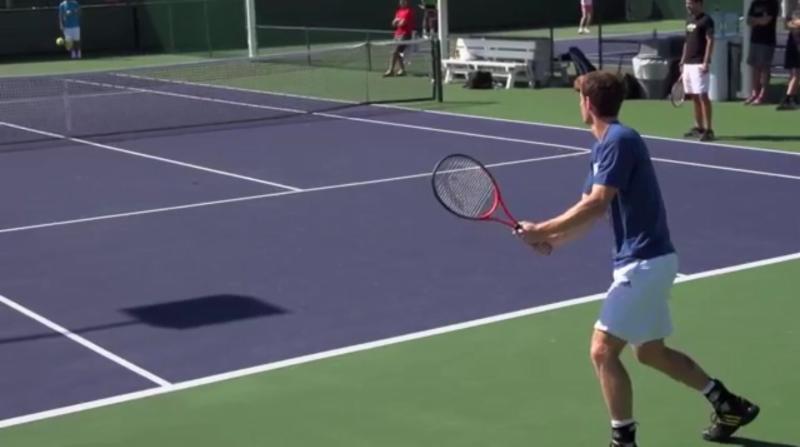
Andy Murray taking the racquet back with the body
Position #1 (Proper Preparation): You must have your #1 back and set in a good position, with proper balance by the time the ball bounces on your side of the court.
There are four (4) key reference points in position #1:
- The 1st reference point is to have the hands somewhere between waist and chest height. Placing the hands at this height allows you to generate more racquet head speed before making contact with the ball compared to that of a lowered hand position or straight back racquet preparation.
- The 2nd reference point is to make sure that the racquets points upward toward the sky in the final preparation position before you start your downswing. By pointing the racquet up high like this, you will take advantage of gravity and centrifugal force. This will allow you to gain maximum momentum and racquet head speed with the use of very little energy.
- The 3rd reference point is to make sure when you reach your final preparation position that you have a slight bend in the left elbow.
- The 4th reference point is to have your weight on both legs but store most of your energy on the left leg (assuming you are right handed).
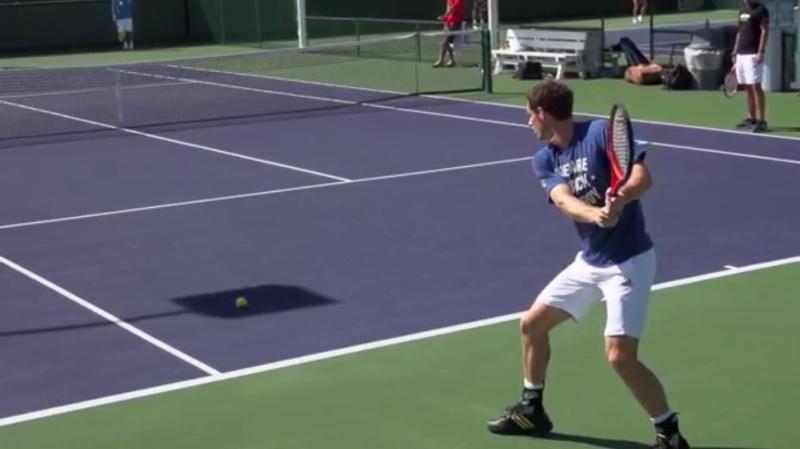
Racquet back and set in position #1 by the time the ball bounces
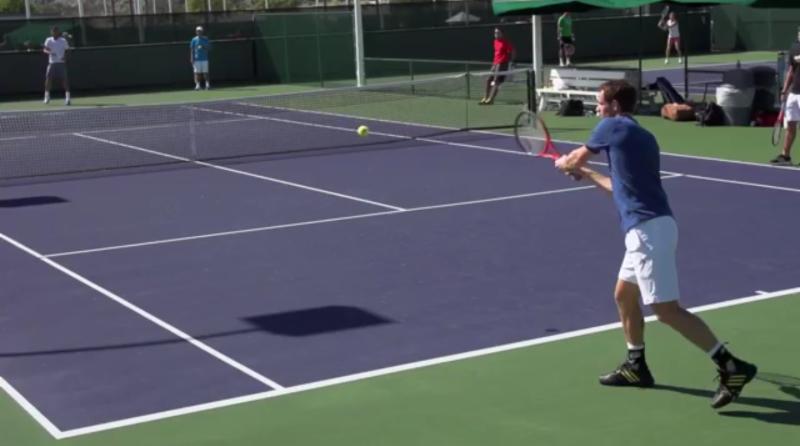
Position #2- The Contact Point: You should make contact with the ball between waist and shoulder height, away from the body and just in front of the right foot.
There are five (5) key reference points in position #2:
- The 1st reference point is to drop the racquet head below the flight path of the ball. This will control how high you hit the ball over the net and allow you to hit topspin. If you miss you’re shot in the net that usually means you did not get under the ball.
- The 2nd reference point is to start transferring your weight to your front leg. As you transfer your weight to the front leg, the back leg should collapse allowing you to get under the ball better and create deeper shots.
Racquet head is below the flight path of the ball and weight is starting to transfer to the front leg
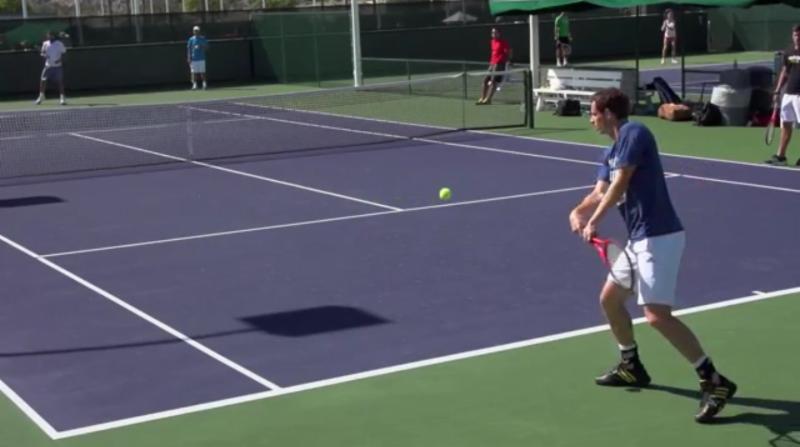
- The 3rd reference point is to keep your head still at contact point to allow you to see the ball better. Keeping your head still will help you with balance and consistency.
- The 4th reference point is to have your left arm completely extended or straight at contact point. If your left arm is straight at contact point, you positioned yourself in the right spot to hit the ball.
Contact point (#2) is between waist and chest height away from the body
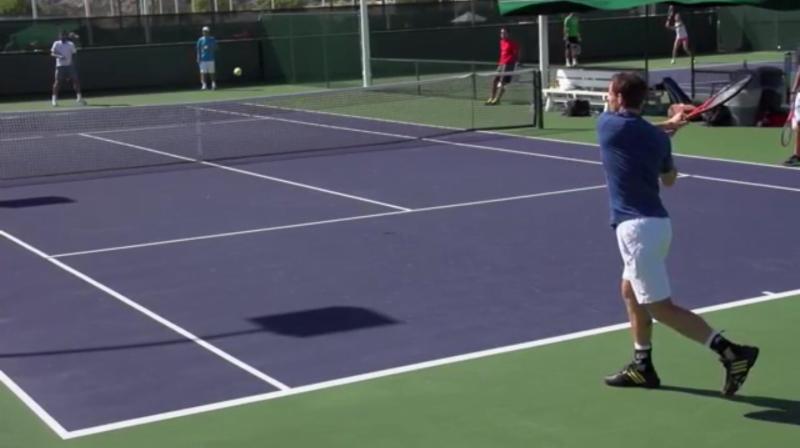
- The 5th reference point is to have your left arm completely extended or straight towards your target right after contact point with the knuckles of your left hand pointing to the left side fence.
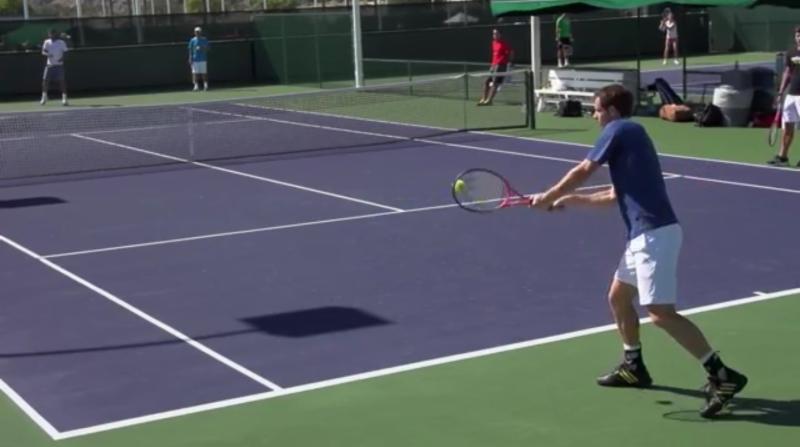
Good extension towards the target right after contact point
Position #3-The Ending or Follow Through: There are several different endings or follow through you can have according to the type of shot you are trying to hit. We will focus on the fundamentals that you can use with any shot. There are three (3) key reference points in position #3:
- The 1st reference point and the most important, is to finish with your left arm straight across your chest with the racquet on the right side of your body over the shoulder.
- The 2nd reference point is to have your left shoulder tucked under your chin.
- The 3rd reference point is to have your weight completely transferred to your front leg.
Position #3 Murray has his left arm straight across his chest with his left shoulder tucked under his chin
There you have it, all the reference points you need to go out and hit your two handed backhand like the pros.
To your tennis success,
Jimmy Mendieta